
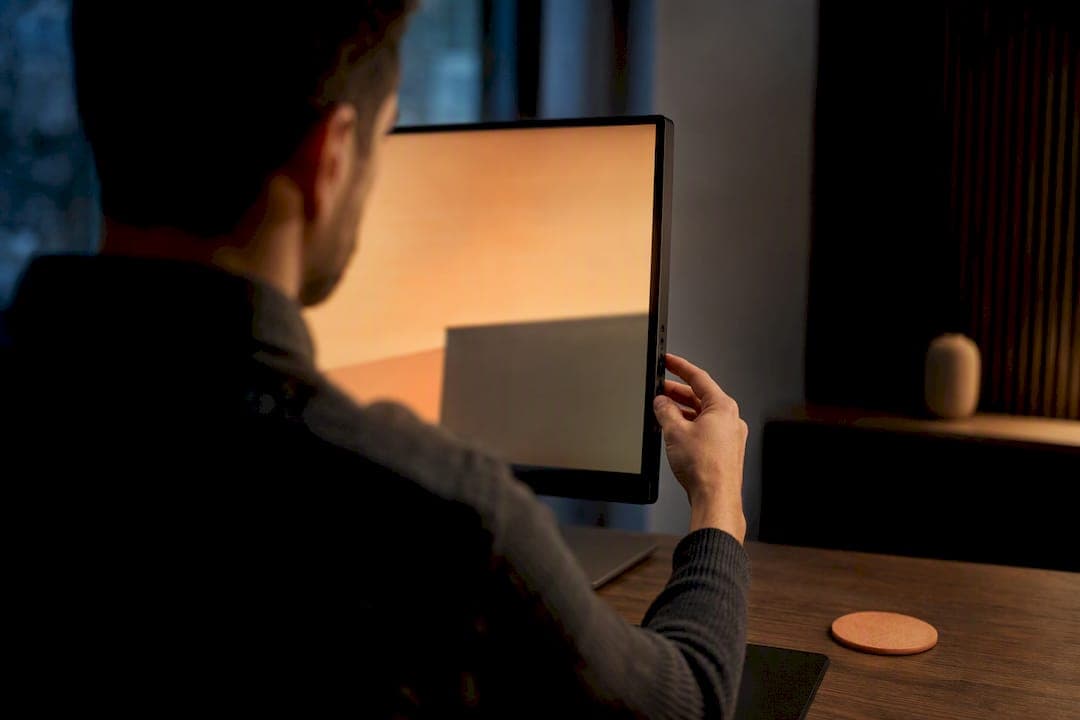
The fastest fix is your device's built-in night mode: Night Shift on iPhone, iPad, and Mac, or Night light on Windows. Turn it on, schedule it for evening hours, and adjust the intensity slider until the display looks softer rather than orange. When that's not warm or dim enough, a display-level tool like Lumina Filter adds finer control without wrecking clarity.
TL;DR:
- Built-in night modes like Night Shift and Night Light can be customized for warmth but may require disabling True Tone or adjusting brightness first for optimal effect.
- Windows users should lower screen brightness before increasing warmth with Night Light, as layering warm presets over full brightness often results in an orange tint.
- Third-party display filters like Lumina Filter offer more precise control, maintaining clarity while reducing blue light, especially when native options are insufficient.
- Eye comfort improves significantly when adjusting brightness, layering warm presets, and using physical accessories like matte screen protectors or bias lighting.
- Warm display modes are ideal for evening use but should be avoided during color-critical tasks like photo editing to prevent color distortion.
Table of Contents
- How to Make an iPhone, iPad, or Mac Screen Warmer
- How to Make a Windows PC Screen Warmer
- Third-Party Apps and Filters: What They Do and Where They Fall Short
- Dimming Beyond the System Minimum
- When Not to Warm Your Screen (and Other Healthy Habits)
- Why a Tested Display-Level Filter Helps When Built-In Modes Fall Short
- An Evening Setup Worth Trying Tonight
- Try Lumina Filter for Evenings That Don't Wreck Your Sleep
- Official Docs and Useful Reading
- Sources
How to Make an iPhone, iPad, or Mac Screen Warmer
Apple builds warmth controls into every device, and they take about 30 seconds to set up. Night Shift shifts your display toward the orange end of the spectrum on a schedule you choose, while True Tone adjusts color and intensity based on the room's ambient light using sensors, not blue-light filtering. That distinction matters: True Tone can make a screen look warmer without actually cutting blue light, so if you want consistent warmth for evening reading, turn True Tone off and let Night Shift do the work.
Here's the setup:
- Open Settings > Display & Brightness > Night Shift on iPhone or iPad, or System Settings > Displays > Night Shift on Mac.
- Turn on Scheduled, then pick Sunset to Sunrise or set custom hours.
- Drag the color-temperature slider warmer or cooler to taste.
- For deeper dimming, go to Settings > Accessibility > Display & Text Size > Reduce White Point, or Color Filters for a stronger tint.
- Add Night Shift to Control Center for a one-tap toggle you can hit before bed.
Apple's own support documentation confirms these Accessibility options exist specifically for extra dimming beyond what brightness alone can do. On Mac, you can also schedule Night Shift by location using Sunset to Sunrise, which adjusts automatically as the seasons change.
Pro Tip: If Night Shift looks too weak, check whether True Tone is fighting it. Disable True Tone first, then re-judge the warmth.
How to Make a Windows PC Screen Warmer
Windows handles this through Night light, a built-in filter that shifts your display's color temperature and can be scheduled to run automatically. Unlike Night Shift, Night light lacks a True Tone equivalent, so what you set is what you get, no ambient-sensor guesswork involved.
- Open Settings > System > Display, then find Night light and switch it on.
- Click Night light settings to reveal the intensity slider. Push it warmer for evening reading, cooler for daytime work.
- Turn on Schedule night light, then choose Sunset to sunrise or set exact hours.
- Lower your overall brightness before pushing the color shift further. Microsoft's own guidance frames Night light as a sleep aid, and it works best when brightness is already dialed down first.
- If your monitor supports it, layer in warmer color profiles through your graphics driver's on-screen display or the monitor's own menu for extra control beyond what Windows offers.
Stacking a heavy warm preset on top of high brightness is the classic mistake. As one practical guide on monitor presets points out, warmth applied over full brightness often just looks orange instead of soft. Drop brightness first, then apply color.
If Night light doesn't appear in Settings, your display driver may need updating, or you're on an older Windows build that predates the feature. A display-level filter can fill that gap on machines where the built-in option is missing or too limited.
Third-Party Apps and Filters: What They Do and Where They Fall Short
When Night Shift or Night light isn't warm enough, people typically turn to one of four categories: overlay dimmers that sit on top of your display output, OS-level filter apps that hook into system color management, driver-level filters baked into graphics software, and monitor hardware presets stored in the display itself.
Each comes with trade-offs:
- Overlay dimmers can introduce visible banding or washed-out colors at aggressive settings.
- Unknown apps requesting broad screen-access permissions carry real privacy risk, especially if downloaded outside official app stores.
- Driver-level filters vary wildly in quality between graphics card manufacturers.
- Monitor presets are fixed. They rarely adjust automatically for time of day.
A display-level filter approach, which adjusts blue light emission directly rather than overlaying a colored film, tends to preserve more clarity while still cutting the harsh part of the spectrum. Search forums like Reddit's r/iphone show plenty of people specifically asking for stronger warming and dimming than native controls provide, which tells you built-in tools aren't always enough for sensitive eyes or very dark rooms.
Pro Tip: Before installing any third-party filter, check that it comes from a known developer, requests only the permissions it needs, and doesn't visibly tank your device's performance in the background.
Dimming Beyond the System Minimum
Sometimes even the lowest brightness setting feels too bright, especially in a pitch-dark bedroom. A few tricks push past that floor safely:
- On iOS, enable Reduce White Point (Settings > Accessibility > Display & Text Size) to cut brightness further without touching hardware backlight limits.
- On Windows, a reputable overlay app can shave off additional brightness the OS slider won't reach.
- Add a matte screen protector, which diffuses glare and softens perceived brightness without any software.
- Set up simple bias lighting behind your monitor. A dim LED strip reduces the contrast between screen and room, which eases eye strain more than people expect.
- Avoid stacking multiple heavy filters at once. Two aggressive warm layers plus Reduce White Point can push colors so far off that text becomes hard to read.
For most dim-room viewing, aim for a brightness level where you can comfortably read white text on a dark background without squinting or seeing a glow. That's a better gauge than any specific percentage, since panel brightness varies by device.
When Not to Warm Your Screen (and Other Healthy Habits)
Warm modes are built for comfort, not accuracy. If you're editing photos, doing color-sensitive design work, or grading video, switch back to a neutral profile. Warm color temperatures shift how colors render, and that shift can throw off skin tones, whites, and contrast judgments during precision work.
A few habits pair well with warmer evening settings:
- Follow the 20-20-20 rule: every 20 minutes, look at something 20 feet away for 20 seconds.
- Keep a light source behind or beside your screen rather than working in total darkness.
- Sit roughly an arm's length from your monitor, with the top of the screen at eye level.
- Schedule warm modes for evening only, so daytime work keeps accurate colors.
Why a Tested Display-Level Filter Helps When Built-In Modes Fall Short
Night Shift and Night light are solid starting points, but they're one-size-fits-all. Lumina Filter operates at the display level, adjusting blue light emission directly instead of applying a blanket color overlay, which means you get real-time, adjustable filter strength without the washed-out look heavy overlays create.
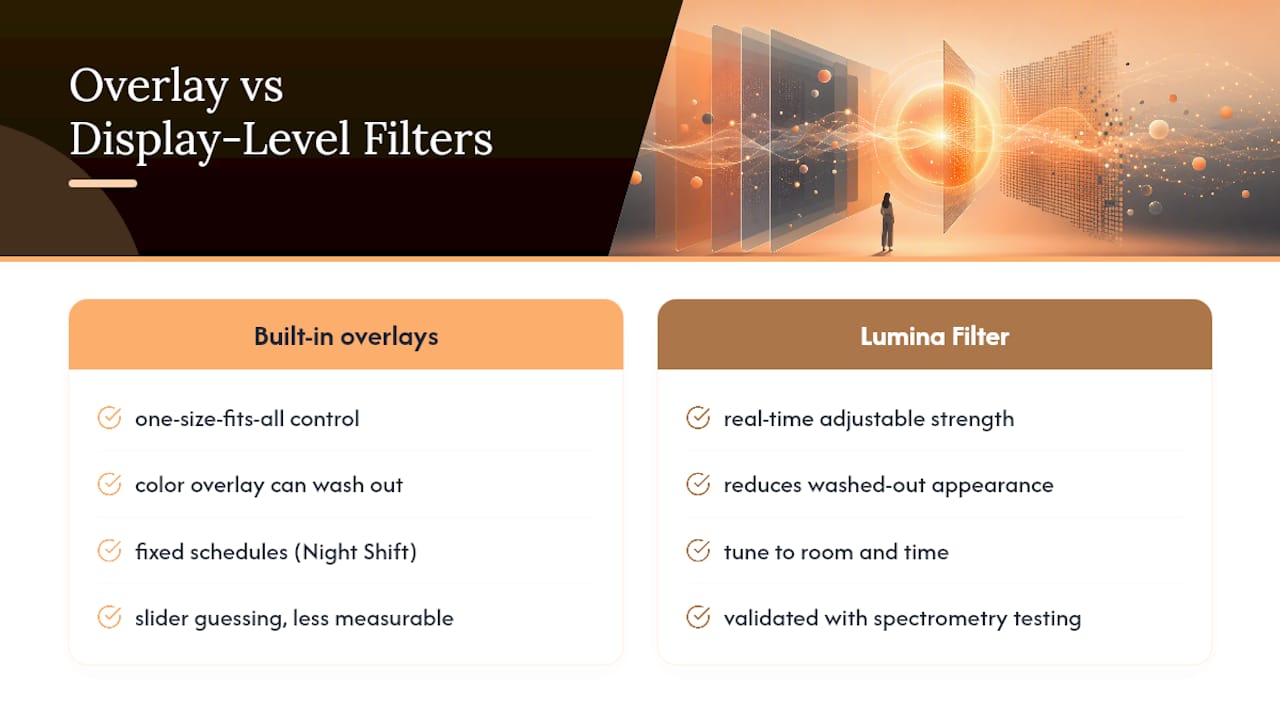
The filtering behind it has been validated with spectrometry testing, giving it a more measurable basis than guessing at a slider position. Support spans both Windows and Mac, with strength levels you can tune to the room you're in and the time of day, going further than a fixed Night Shift schedule when your eyes need more relief.
An Evening Setup Worth Trying Tonight
Here's a simple sequence: lower your brightness first, schedule Night Shift or Night light for sunset, then layer on a dedicated filter if your eyes still feel strained by 9 p.m. Brightness before color keeps things from looking orange. Scheduling protects your daytime color accuracy since the shift only kicks in when you actually need it. If native controls still leave you squinting, the Mac or Windows setup guides above cover the next step.
— Dave
Try Lumina Filter for Evenings That Don't Wreck Your Sleep
If Night Shift or Night light still leaves your eyes tired by the end of a workday, Lumina Filter picks up where those built-in tools stop. It works at the display level rather than layering a flat tint over everything, so you keep sharper detail while still cutting the blue light responsible for evening eye strain.
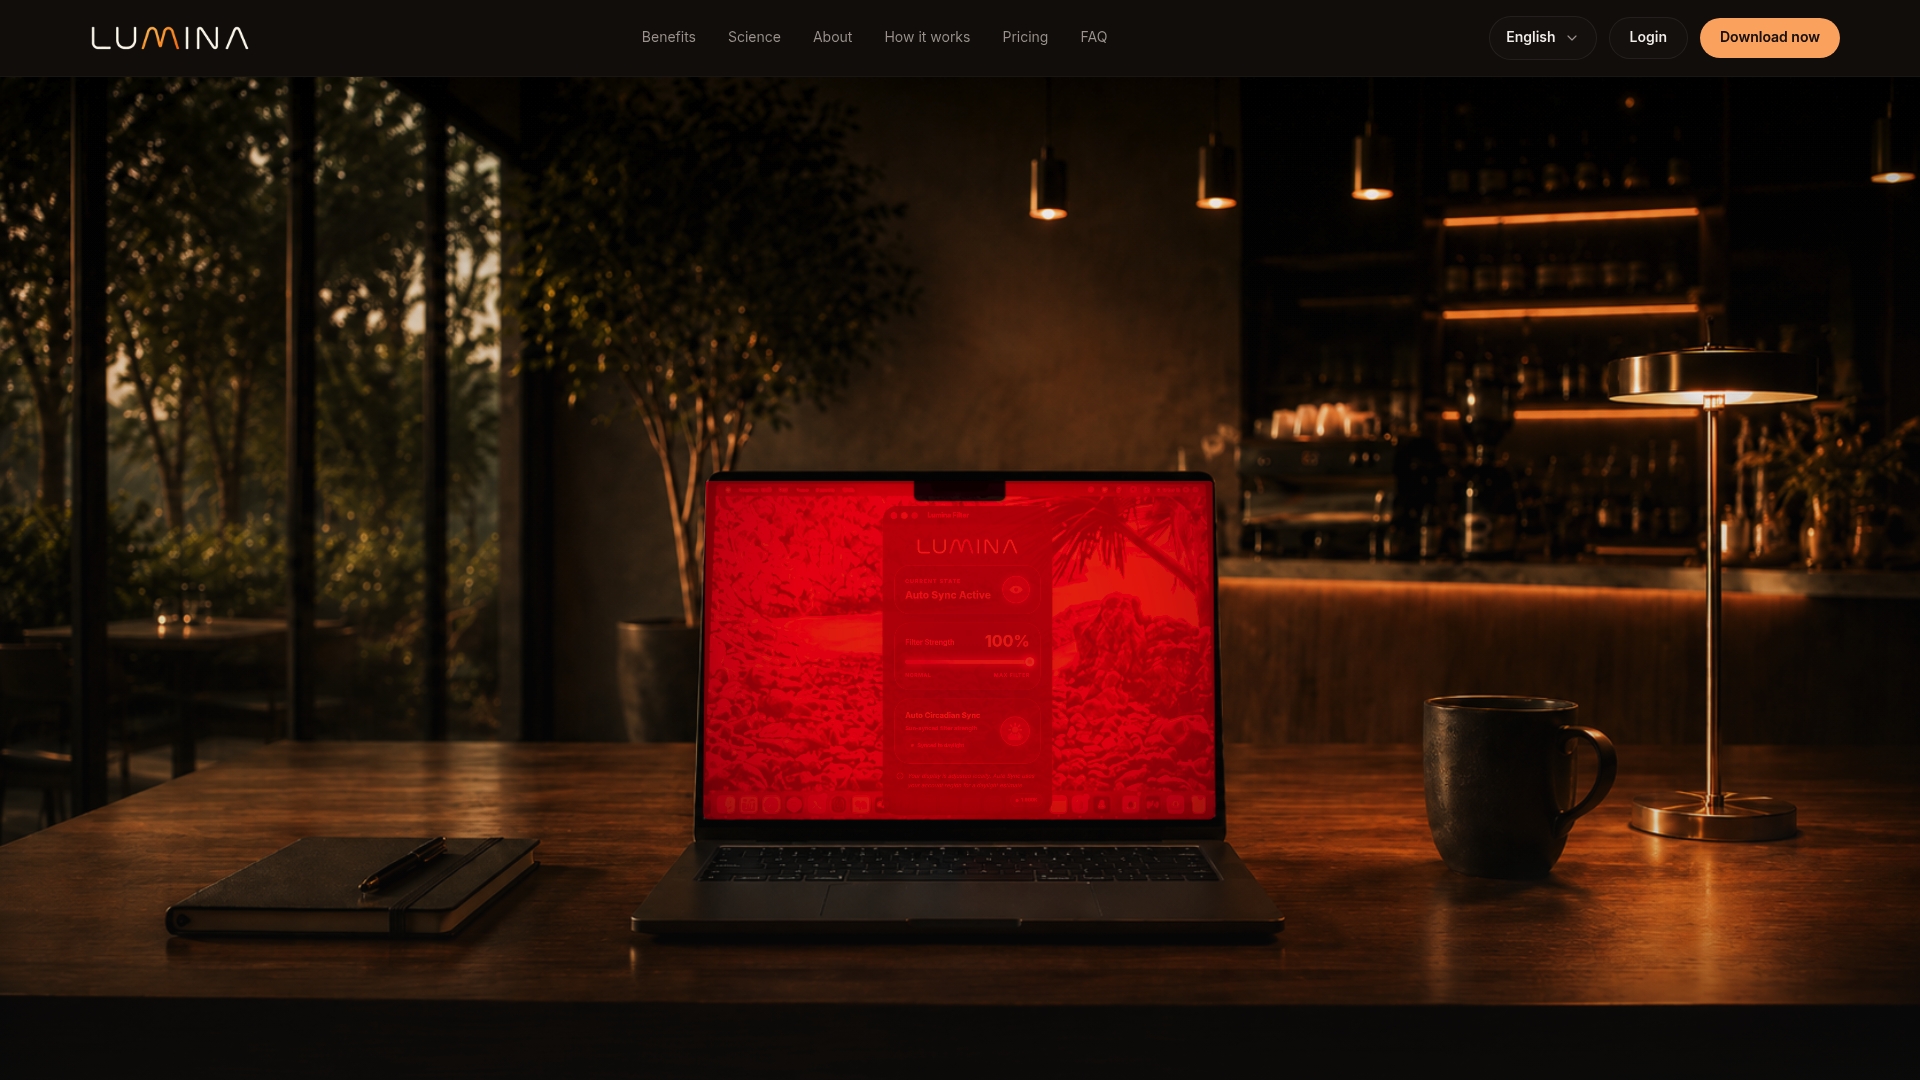
Night owls, students pulling late study sessions, and anyone logging long hours at a desk tend to get the most out of adjustable filter strength that scales with the room and the hour. A 7-day free trial gets you started, with monthly, quarterly, or annual plans after that. Head to the Lumina Filter product page to see the full feature list and start your trial.
Official Docs and Useful Reading
- Microsoft Support: Display brightness and color in Windows, covering Night light setup and scheduling.
- Apple Support: Night Shift and True Tone, covering color temperature and Accessibility dimming options.
- KTCPlay: warm color temperature vs. blue light filters, comparing monitor presets to OS-level filtering.
Sources
- Change display brightness and color in Windows | Microsoft Support
- Adjust the brightness and color temperature on your iPhone or iPad | Apple Support
- Warm color temp vs. blue light filter for monitors | KTCPlay